Proper Body Positioning in Long-Hold Restorative Poses
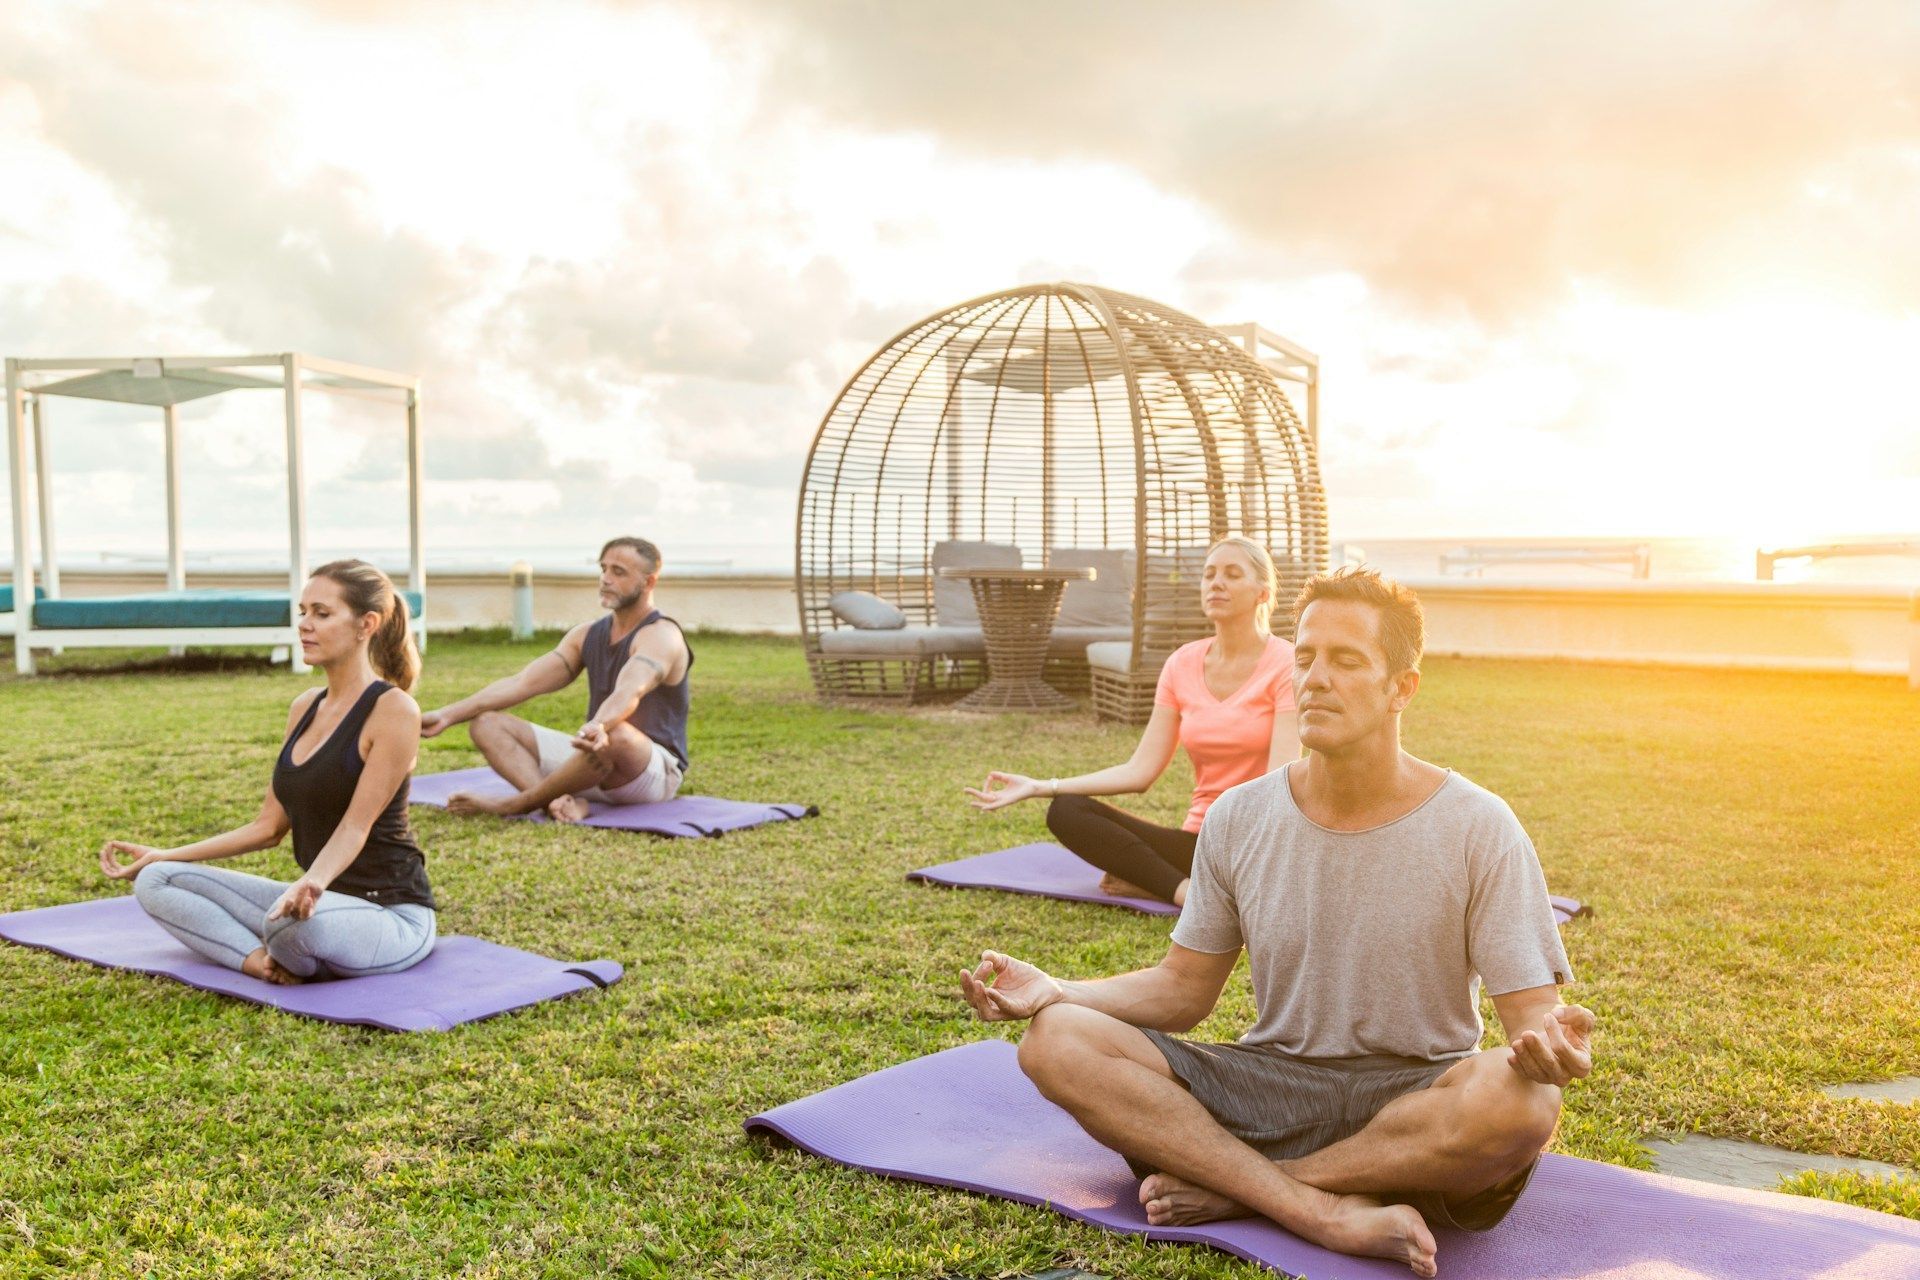
Restorative yoga is one of the quietest forms of movement, yet it can offer one of the deepest releases for both body and mind. Long-held postures help stretch muscles, calm the nervous system, and bring a sense of calm that can be hard to reach through faster-paced practices. But the full benefit of these slow, supported yoga sessions often depends on one key thing: how your body is positioned during each pose.
When you’re holding a pose for five, ten, or even more minutes, comfort, support, and alignment really matter. Being properly set up can help you relax fully and avoid the kind of strain that creeps in slowly. Especially in a busy city like San Francisco, restorative yoga offers a much-needed pause. This article highlights how proper setup in long-hold restorative poses can change the way your body feels during and after class. It’s not about looking perfect. It’s about feeling at ease and supported in every shape.
The Importance of Proper Body Positioning in Restorative Yoga
Restorative yoga invites your body into stillness. The goal isn’t to stretch deeper or move faster, but to soften and let go. In long-hold poses, what makes the most difference is the way your body is aligned and supported. A pose that looks simple can become uncomfortable if you’re off by just a few inches. That discomfort builds over time, especially when a shape is held for an extended period.
Proper positioning helps prevent numbness, pressure on joints, or muscle strain. Without the right support, your body might try to hold tension even when you’re trying to relax. That tension keeps the body from fully settling into the pose.
This is where props come in. Bolsters, blankets, blocks, and straps are used to make the pose meet your body rather than the other way around. For example:
– Bolsters can fill space between you and the floor, offering lift and comfort for the spine or legs
– Blankets provide gentle height beneath hips or head and cushion bony spots like ankles or knees
– Blocks can support hands, thighs, or your back in poses that need more structure
– Straps can hold your legs or arms in place so you don’t need to use effort to maintain the pose
Even with all the right props, what matters more is how you place them. Feeling grounded and supported in key areas like the lower back, neck, and knees can completely change the experience of restorative yoga. It allows the breath to move freely and gives the muscles permission to fully let go. Without that support, some parts of your body may tighten to make up the difference. That works against the whole point.
If you’re ever unsure whether you’re set up right in a pose, check in with these questions: Can I relax fully here? Is there any area feeling over-stretched, tingly, or tight? Am I thinking about adjusting instead of just being? If the answer is yes to any of those, it’s probably worth making a small shift or adding another prop.
Key Restorative Yoga Poses and Their Proper Alignments
While restorative yoga draws from many classical poses, it changes how they’re approached by layering in support and stillness. Below are a few of the most common long-hold shapes and guidance on how to set yourself up for each one.
1. Supported Child’s Pose
Kneel on your mat with a bolster or two long pillows in front of you. Widen the knees, bring the big toes to touch, and fold forward so your chest and head rest on the bolster. Arms can lie by your sides or drape forward. Make sure the head is evenly supported and the belly feels soft and uncompressed.
2. Reclining Bound Angle Pose
Lie on your back with the soles of your feet together and knees open wide. Place a bolster or folded blanket under your upper back to create a gentle heart opener. Support your knees with blocks or blankets to prevent overstretching in the hips. Let your arms fall to the sides with palms up.
3. Legs-Up-The-Wall Pose
Sit sideways next to a wall, then swing your legs up as you lie back. If your lower back feels strained, slide a folded blanket beneath your hips or lower back. Rest your head on a blanket if needed so that your neck feels long and supported. Close the eyes and let the legs relax.
4. Supported Bridge Pose
Lie on your back with knees bent and feet flat. Lift your hips slightly and slide a bolster or block under your sacrum, the flat part of your lower spine. Don’t place the prop too high or under the arch of the lower back, as that can cause strain. Adjust until you’re resting evenly on the prop without needing any muscle effort.
5. Seated Forward Fold
Sit with your legs extended in front of you. Place a bolster or stacked blankets along your legs. Slowly fold forward, resting your chest and head on the support. Bend your knees if needed or place a rolled blanket under your knees for ease in the hamstrings. Support your forehead to release tension in the neck.
Each of these poses asks for stillness, but that stillness should feel comfortable and sustainable. When your body is supported well, time in the pose passes more gently, and your nervous system starts to unwind. Being thoughtful about how you position yourself can turn an average session into a deeply restful one.
Techniques for Maintaining Proper Positioning
Holding restorative poses for longer periods without shifting can feel surprisingly difficult at first. That’s why it helps to have a strategy for staying comfortable. The right setup matters, but tuning in to your body while you’re in the pose is just as important. Your body gives you clues when something’s off. It might whisper through a tingling foot, a tight jaw, or a wandering mind. Paying attention to those signals and knowing how to respond can make your practice way more effective.
Start by settling into each shape slowly. Rather than rushing to drape yourself over a bolster or snuggle up with a blanket, take a few extra breaths and let your body adjust. Check for any pinches or uneven pressure. If your hips are holding tension, slide more support underneath. If your neck feels strained, add a folded blanket under the head to level things out. Don’t be afraid to experiment. A small tweak like rolling up a towel to support your wrists can change everything.
Here are a few tips to keep your positioning soft and sustainable:
– Use gravity, not muscle, to hold the shape
– Keep your joints slightly bent if locking them creates discomfort
– If a pose calls for stretching forward, support the belly and chest so they can release
– Close your eyes to focus more on internal sensations than outward appearance
– Take note of whether your breath feels shallow or easy. If it’s restricted, you may need to shift slightly
– Have extra props within reach so you can adjust without having to come out completely
Breathing plays a big role in staying grounded too. Slow inhales and even slower exhales act as gentle cues for your body to relax. If the breath feels stuck or uneven, make small posture changes or add another cushion before settling deeper into stillness. There’s no perfect shape, only what feels supportive right now.
Tips for a Safe and Effective Restorative Yoga Practice
Setting yourself up for a restorative yoga session starts before you even get into a pose. The right environment and mindset help you ease into stillness without distractions. Whether you’re practicing at home or in a studio, a little prep makes a big difference.
Begin with a short warm-up. Poses like gentle twists, side bends, or cat-cow stretches bring awareness into the body and help identify tight spots. Even slow walking or deep standing breaths can help your nervous system start to shift gears.
For your space, dim lighting can be calming, but what matters most is quiet. Silence lets your focus turn inward. A soft mat or folded blankets, maybe even a weighted eye pillow, can signal to your body that it’s time to rest. Turn off your phone, close any doors, and reduce distractions.
If you’re new to restorative yoga or have any discomfort, make basic adjustments without hesitation:
– Elevate the hips if your lower back feels stiff
– Place a rolled towel under the ankles in legs-up-the-wall to reduce tension
– Use a strap in bound poses if your legs want to drift apart
– Support arms or hands with soft pillows if your shoulders are tight
While restorative yoga is gentle, everyone’s body responds differently. People with back pain, limited mobility, or other conditions should consult with an instructor. Working together helps you find safe, supportive setups. Never hesitate to ask questions before or after class. Small changes can lead to much better results.
When the practice ends, give yourself time to transition out. Stretch lightly, sit still for a bit, or simply take a few full breaths before moving on.
Let Your Practice Support You
Taking time to slow down isn’t always simple in a place like San Francisco. This city rarely pauses. Restorative yoga helps you pause with care. These poses create space, not just for the body, but for the breath and the mind. The relief they offer builds in quiet, steady ways.
It’s not about matching a picture-perfect pose. It’s about responding to what your body needs. That kindness becomes part of the practice. Over time, you might feel less tight during the day, breathe more easily at night, or even look forward to those quiet minutes where nothing is asked of you except to be still.
The little adjustments—folding a blanket, changing your head angle, softening your knees—can take a practice from frustrating to peaceful. Building that awareness through regular sessions can support you far beyond the mat.
Restorative yoga doesn’t ask for effort. It reminds you of ease. It helps your body and mind reconnect. Each supported breath is a reminder that rest is productive too. And in a place filled with motion, like San Francisco, that reminder can be the most powerful benefit of all.
Whether you’re new to yoga or a seasoned practitioner, embracing restorative yoga can enhance your well-being in ways you might not expect. If you’re looking to experience the best restorative yoga classes, our approach at Haum Yoga Studio can support your growth and create space for calm in your everyday routine.
Recent Posts